Showing posts with label crafts. Show all posts

Monday, 4 March 2013

Kittens!

"Wha'!? Los' yoh mi'ens, you naugh'y lil' ki'ens!" -S.N., 2012 

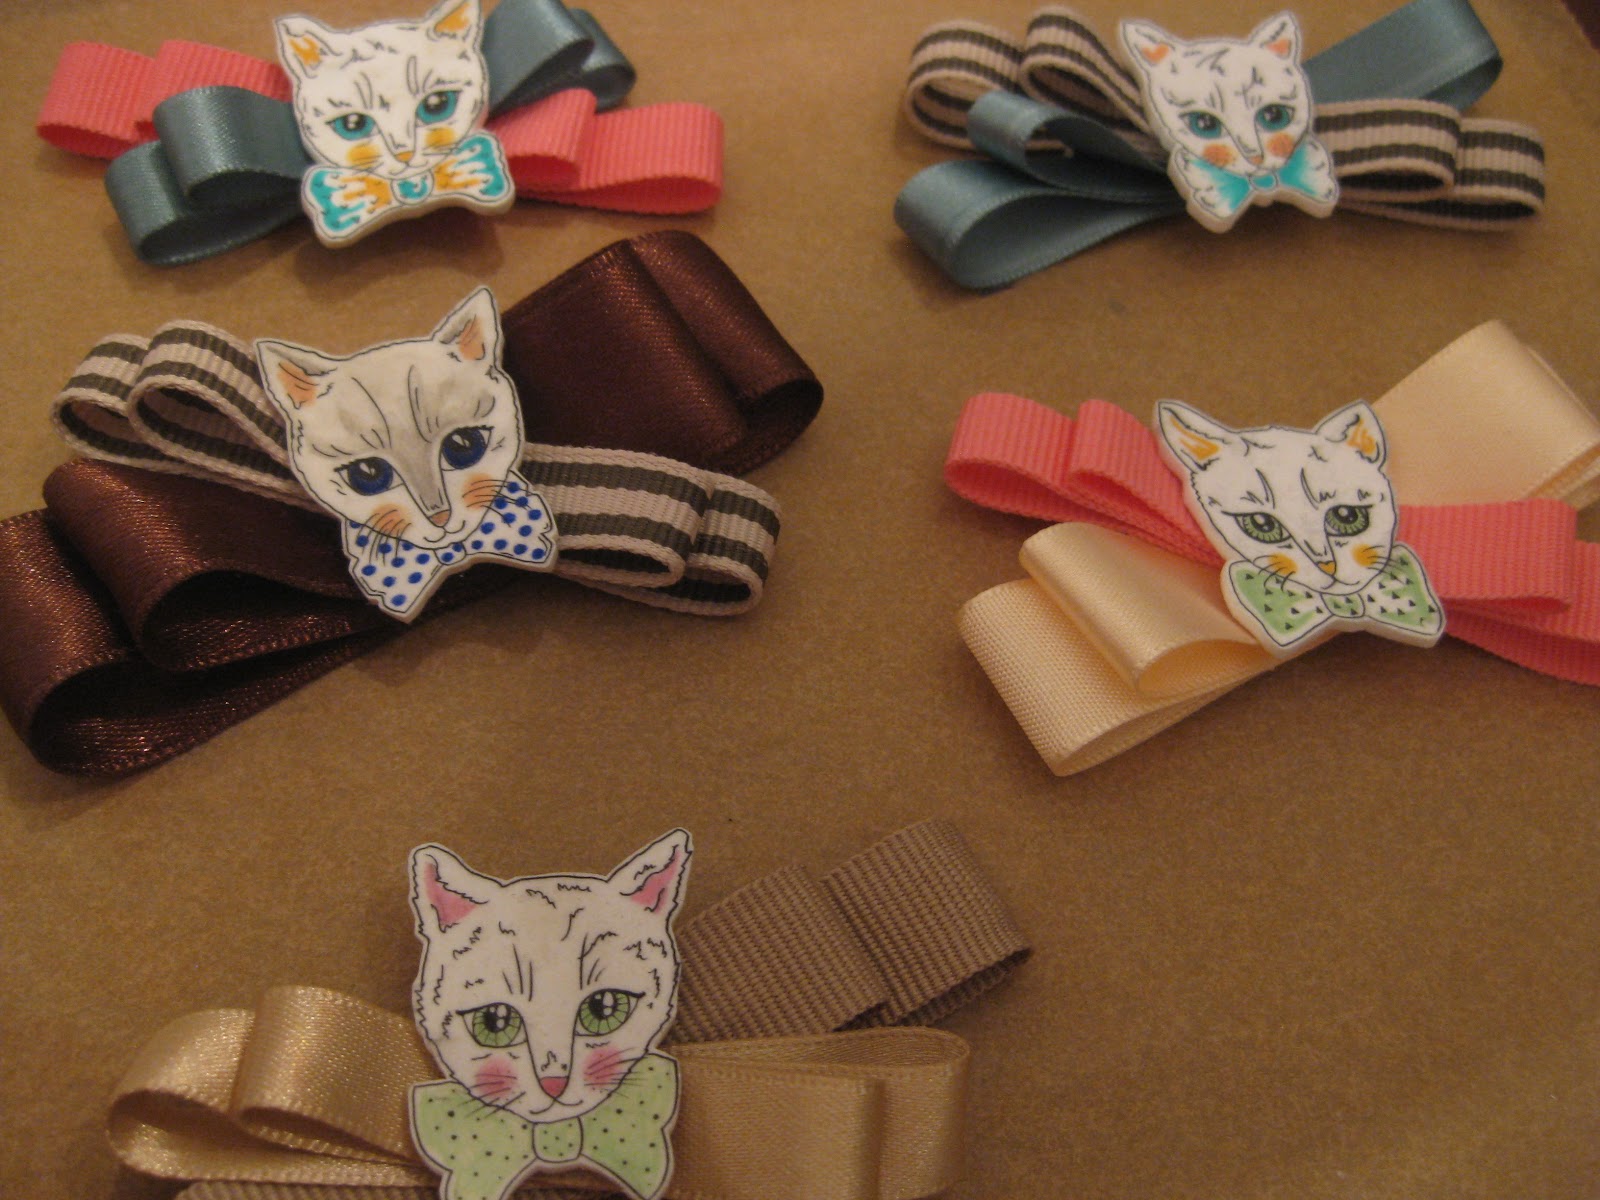
Made my sister a kitten brooch for christmas shown here in a never-before seen extraordinarily 
sharp and clear mac photo booth -image:


Anyways, so then yesterday I made some more, and I really feel like making more still, but I must refrain myself, for I really have no plans for what to do with them. Oh well.

Here they are, the five little kittens 
(clockwise from top left:  Mily, Cui, Mussorgsky, Nikolai and Borodin)
...and some close-ups...

мяу, meow!


Sunday, 9 December 2012

Very wool

I've finally used up most of the smaller balls of yarn I've had for the last few years, hurrah!


Presenting:

Very wool tassels

 Very wool basket 
(crocheted with three different shades of pink and grey at once, to get a thicker, sturdier basket!)

 And last but not least:
Very wool pompom garland

Friday, 21 September 2012

Jewellery trees

Went mushrooming last weekend and found some cool branches.

1. Collected pretty branches and took them home
2. Cleaned them and snapped off any brittle bits
3. Drilled and glued a few together
4. Slapped on a few golden paint highlights
5. Popped some wooden beads on the ends of a few branches
6. Hammered to a painting easel 
(long story involving some very slow drying clay and a failed attempt at making a clay stand) 
7. Hung some bracelets and necklaces from it


It would look really cool on a wall as well, 
but I have no available wall space on walls that aren't rock hard cement..

Here's a ring holder I made a few years back, also added some beads to it yesterday:


And of course this would look really cool au naturel, sans paint and beads!

Thursday, 13 September 2012

Le bijouterie ununumuru

I've finally got a little shop up and running, on a site called 'Taitomaa'.
My shop is called
and you can find it here!

Been putting earrings there for the last week or so. But there's 1,400 other pairs of earrings up there, so chances of a sale are.. very slim. Oh well! Here are some of my babies:


I've used glass beads, wooden beads, plastic beads, shampoo bottles, bead caps, fimo decorations, tassels, wire bows, old buttons, new buttons and random bits and bobs.
Maybe someone, someday will want to buy some of my earrings... *sigh*! :D

Thursday, 2 August 2012

Macrame and hanging things with it aka crockery bondage

Was blog-surfing and found this cute little project from a blog called Transient Expression.

So I rummaged about in my craft cupboard, 
but all my fimo bits are so small that I wouldn't be able to make a vase even this small from any one colour, 
buuut luckily I found some ooooold old clay and a few minutes later my vase was sitting outside drying.

It didn't turn out as pretty as the original, but I like the concretey look of it so I'll let it be.


Then I took some pink yarn from my yarn bowl and got about macrameing. Initially just for the clay clump I'd just made, but I was impatient for it to dry so I thought I'd try out the idea with other small plant pots.
The smallest ones I have in use are teacups. So:


They're hanging by the window for now, I might move them a bit to the side,
but that requires drilling in more hanging, umm, bits to the window frame,
and I'm not in the mood for that.

Then I got carried away and did a whole lot of macrame for some cute cups 
I've had lying around and an old tea pot.

This display of crockery bondage is now hanging in my kitchen. 
The tea pot will be filled with some plant that hangs nicely. 
Like thyme or something. Something edible anyway.


I also made a fox out of the left over clay:


I will be painting him once he's dry. Perhaps in a very very faint orange, with a golden nose...

Sunday, 25 March 2012

Old bag fever

I've been down with a fever this weekend, yesterday I was more or less content with just lying on the couch or in bed, sleeping, watching tv, and feeling terribly sorry for myself.
This morning I felt a bit better, and as I'm not too good at sitting still I decided to finally do something about this grey leather bag I picked up in kierrätyskeskus for zero euros.
 So I got out my leather paints, and though I originally planned to 
paint this with some white and yellow, 
the white paint is a bit clumpy and the yellow doesn't cover well enough, 
so I opted for this minty turquoise instead!

Probably should've planned this out a bit better, but in my feverish state I really didn't feel like it..!
 Here's the part under the flap. I think they might be leaves of some kind.
 I've been painting it on and off for the last 5 hours, so it has gotten dark outside (hence the change in the perceived colour change in the bag for the last 2 photos).
I present to you, geometrics, painted with a wobbly fever-ridden hand:
I think I'll still do some more work on it tomorrow, or whenever I have time, 
but enough for tonight anyways (or it could turn in to one of those this-seemed-like-a-really-good-idea-last-night or this-looked-much-prettier-in-semi-darkness projects). 
Which happen sometimes. 
But hopefully not with this one!


(Update, the next day: finished the grey bag this morning, and it really is quite a greenish grey, now that I looked at it properly, so I'm glad I went with the turquoise paint!
Here's the finished bag:

I redefined some of the lines and made the blocked turquoise parts more vivid).

Friday, 24 February 2012

Earrings from a bag!

On my birthday last year I decided to treat myself by buying some leather paints. I'm generally not quite sure yet what my relationship with leather is (I don't eat meat), but I think remaking old leather bags, shoes, wallets, belts etc. seems like a very ecological and fun thing to do, so, after hoarding a bunch of leather items from Kierrätyskeskus, I got to work on my first pair of leather earrings!

They're super light, colourful, and don't really look like leather anymore, really...

And they've definitely become one of my favourite pairs to wear.


An old and worn leather bag.

Designing and how well it works/doesn't work. 


The things you'll need:

- bit of old leather 
- leather paint
- protective top coat
- fine paint brushes
- something to cut out and punch a hole in the leather with
- the usual earring paraphernalia (pliers, hooks, links)


Et voilà! Painting old leather is a really nice way of making sure those cows didn't die for nothing...! I've never been too good at painting, but oh I do enjoy it, and will definitely utilise all the paints I've bought to revamp some of my old leather goods. 

Happy crafting!

Monday, 20 February 2012

A random Monday...


Mondays can be pretty random, right? So let's add to that.


The big brown bottle cost a euro, from Kierrätyskeskus, the blue bottle is a present from my dad, who also paid a euro for it (he was in a restaurant in Barcelona and they served water from these, my dad thought I might like it, so he asked if he could keep it, but it didn't come free, stingy waiters), the beer bottle wrapped in yarn cost about 3 euros, the yarn was all free (Kierrätyskeskus, once again), and the bowl on the right is an old Arabia bowl, cost me about 6 euros (with student discount included) from Kierrätyskeskus, and the pine cones in it are from a big tree on the bank of the Seine near Bonn, Germany. Oh, and the twigs are from Espoo, Finlandia, painted white with some old wall base coat.

I made a few bottles wrapped in yarn, got a bit carried away, but it's very addictive! All you need is a nicely shaped, clean, old bottle, bits of yarn and glue. It took surprisingly long to do, about an hour, probably cos I was watching TV at the same time and had to keep cutting bits of yarn and figuring out how to alternate the colours and trying not to glue my fingers on to the bottle...


I painted these bits of wood turquoise. I have no idea why.


Textures are cool.
Turquoise driftwood from Scheveningen (NL), and red from Haukilahti (FIN), plus a volcanic rock from Iceland.


 Things on my wall pt. 1,576, 374, and things in pots. And a cactus in a teacup. Naturally.

Maailman ihanin pikkusisko lähetti mulle ystävänpäiväkortin Skotlannista! <3
Last week was Valentine's Day, and I received a lovely card from my lovely sister, who studies in Scotland. The stamp that ensured it's eventual arrival had King George V on it, which is awesome.
Need to frame this, I need more frames!


Wednesday, 23 February 2011

Shrinky dink earrings

Do you know what I love? Earrings! Especially making them. Well, buying them is fun too.. but not as much fun. And more costly.
When I make earrings, or jewellery in general, i use mainly beads, but also old shampoo bottles, buttons, string, wire... really anything small and light enough to hang from an earlobe (isn't lobe a gross word somehow?).

Shrinky dinks are also fun (or as me and my sister call them, shrinkles krimpie, since we got ours from Holland and the label said that. Also, it sounds funnier).
For anyone who hasn't heard of this amazing shrinking plastic: it's amazing!

They sell them in Finland too, at least in Sinelli, but I think they're a bit overpriced there. They go by the name of ''kutistemuovi''!
Before they sold it here we got our dad to buy some in Holland and send it over, they're not the ''original'' shrinky dinks, but work just as well I'm sure. I use mainly the clear plastic, because it's easy to trace on from a picture underneath and I think the end result is prettier than with the white plastic.

They start out as A4 sized pieces of plastic, and you can draw on them, cut them out, stick them in the oven for about 4 minutes at 165 C, and they thicken and shrink to be used as, well, anything really. I usually make earrings, charms (for bracelets, necklaces, rings, key rings, wine glass markers...) and magnets out of them.

One of the first things I made was a pair of shrinky dink sweets earrings


They started off as scribbles on a piece of paper:


You then place the plastic on top and copy what you want on to that, cut them out, punch in holes etc, and bake. They shrink by about a third and become a few millimeters thick. Then you can make whateeever you want with your new creations, hurraaahh! (It's a good idea to coat them with some clear varnish first, on the drawn side)


Here's a batch I made earlier!


.


One of my candlestick-plate cupcake holders made it here too. As you can see, they're very handy for hanging earrings, and you can keep bracelets and rings on the plate! And they're very easy to make. I bought the plate and candlestick from my local Kierrätyskeskus, washed them, dried them, and glued them together with some strong glue.

Cheap, easy, cute and fun!